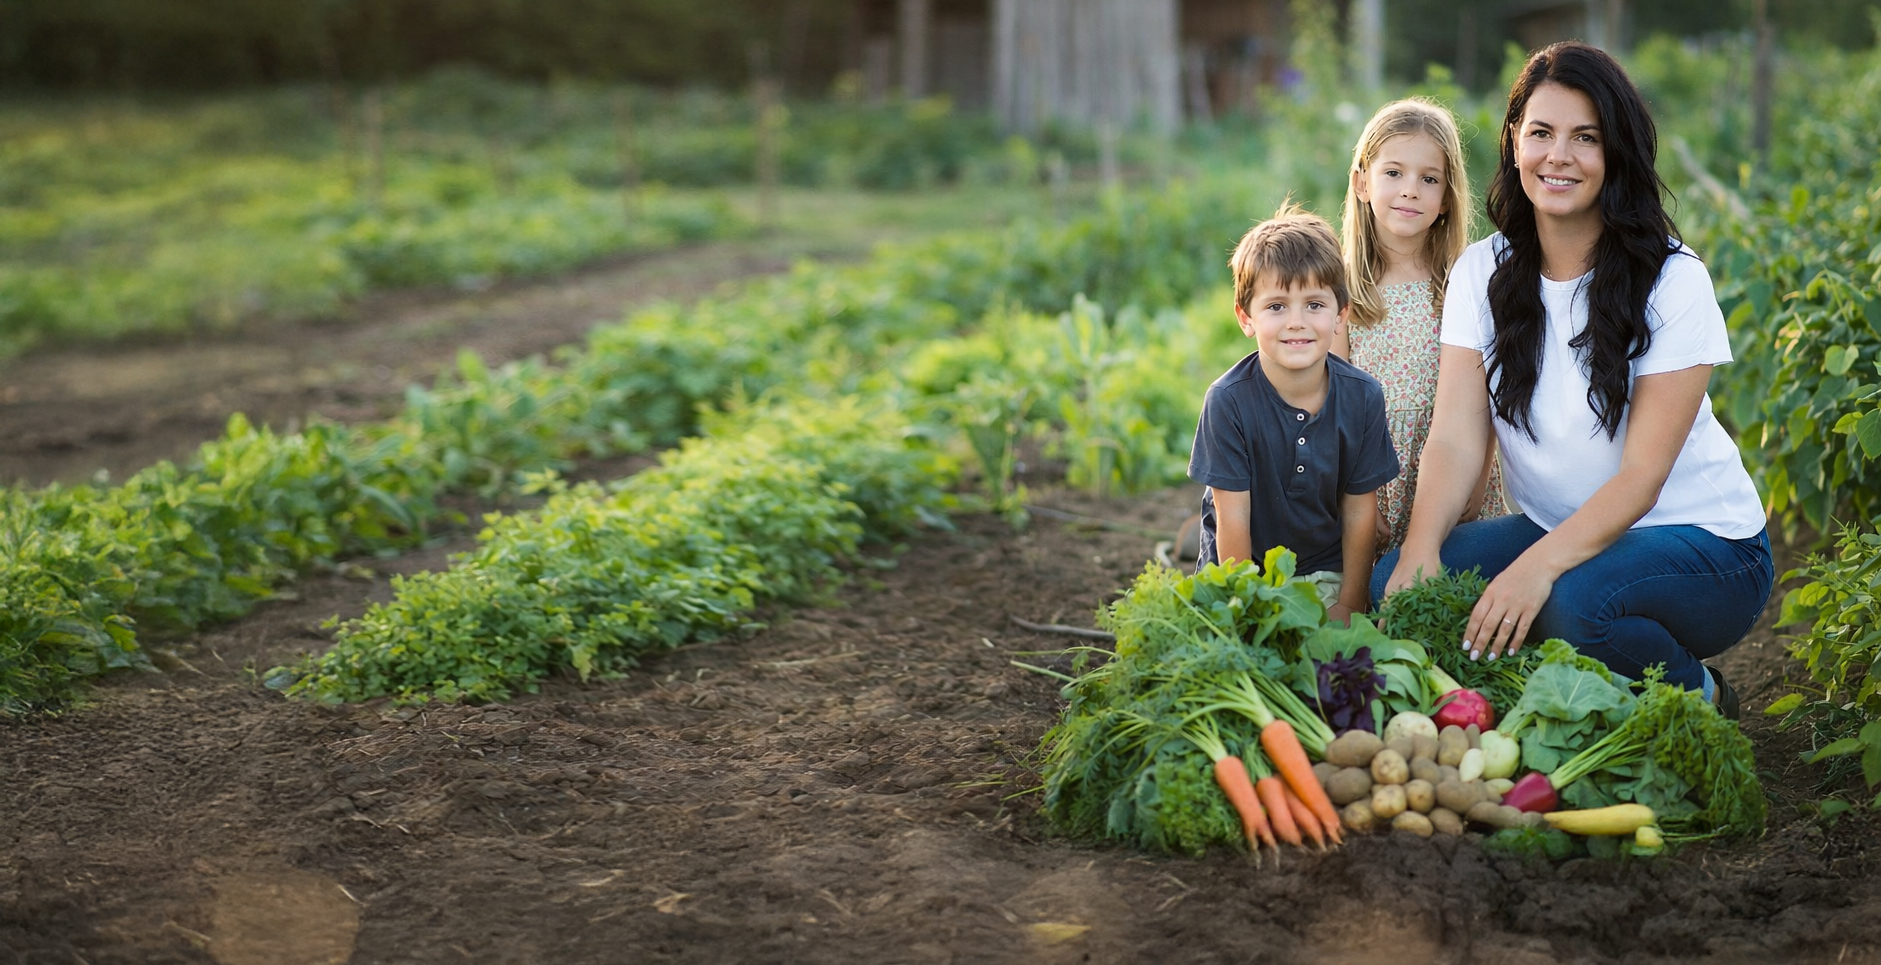
There's something deeply satisfying about turning a flat of just-picked strawberries into jars of homemade jam. The process is simpler than most people imagine, and you don't need specialized equipment to get started. Whether you've returned from a U-pick farm with eight pounds of berries or picked up a bargain flat at your local farmers market, here's how to turn all that fruit into jam you'll actually want to eat.
Getting Started with Fresh Fruit
Before you head to the U-pick field, know how much fruit you actually need. Four to five pounds of strawberries will yield roughly four to five half-pint jars of finished jam—a full flat (typically ten to twelve pounds) makes about ten jars. Other fruits follow similar ratios, though water content varies. Raspberries and blackberries break down more than strawberries. Blueberries hold their shape and may yield slightly less per pound.
Cost per jar runs about two to three dollars when you pick your own fruit during peak season, compared to seven to ten dollars for comparable artisan jam at retail. The satisfaction of making it yourself is the real bonus.
At the farm or market, look for fruit that's ripe but still firm. Overripe or bruised berries are fine for immediate eating but will create a softer set in jam and may harbor mold spores that spread during cooking. A few soft berries in the batch won't ruin anything, but don't buy an entire flat of damaged fruit expecting jam to salvage it.
When you get home, sort through your haul. Remove any moldy, crushed, or visibly damaged fruit. Rinse berries gently in cold water and hull strawberries with a paring knife or a dedicated huller. For stone fruits like peaches or plums, pit and chop them into roughly half-inch pieces. Leave skins on peaches unless you prefer a smoother texture—the skins add natural pectin and color.
Work in batches if you've picked more than eight pounds. Fruit holds well in the refrigerator for a day or two, and managing four to five pounds at a time beats wrestling with a massive pot.
Understanding What Makes Jam Set
Jam achieves its characteristic thick, spreadable texture through three key components: pectin, sugar, and acid. Pectin is a natural carbohydrate found in fruit cell walls that, when heated with sugar and acid, forms a gel network that traps water and gives jam its structure.
Not all fruits contain the same amount of pectin. Strawberries are relatively low in natural pectin, which is why strawberry jam recipes often call for added commercial pectin or a longer cooking time to concentrate the fruit and encourage gelling. Apples, citrus fruits, and underripe berries are naturally high in pectin. Many traditional jam makers add lemon juice not only for flavor but because citrus provides both acid and extra pectin.
Sugar does more than sweeten. It acts as a preservative by binding water molecules, which prevents microbial growth. It also helps pectin molecules bond. Reducing sugar significantly can result in a softer set and shorter shelf life, though adjustments make it possible.
Acid—usually in the form of lemon juice—lowers the pH and creates the right chemical environment for pectin to gel. Without enough acid, even high-pectin fruit may not set properly.
The Pectin-Added Method
Commercial pectin products like Sure-Jell or Pomona's allow you to make jam quickly with less cooking time. This preserves fresh fruit flavor and bright color. Pectin-added recipes typically use a one-to-one or even two-to-one ratio of sugar to fruit and cook for just five to ten minutes after reaching a boil. The result is a softer, more fruit-forward jam that tastes closer to fresh berries.
The Traditional Long-Cook Method
The traditional long-cook method skips added pectin entirely. You combine fruit, sugar, and lemon juice, then simmer the mixture for thirty to forty-five minutes, stirring frequently, until it thickens through evaporation and natural pectin concentration. This approach works beautifully for naturally high-pectin fruits and produces a darker, more intensely flavored jam with a firmer set.
For beginners working with strawberries or other low-pectin berries, starting with commercial pectin makes success almost guaranteed. Once you're comfortable with the process, experiment with no-pectin batches to see which style you prefer.
Strawberry Jam Recipe with Pectin
Equipment you need: large heavy-bottomed pot (at least six quarts), wooden spoon or heat-resistant silicone spatula, potato masher or fork, ladle, canning funnel (optional but helpful), half-pint or pint jars with new lids and reusable rings, large pot for water bath canning if processing for shelf storage, jar lifter or sturdy tongs, clean kitchen towels.
Ingredients: four pounds fresh strawberries (hulled and halved), four cups granulated sugar, one box (1.75 ounces) fruit pectin powder, quarter cup fresh lemon juice.
Prepare your jars by washing them in hot soapy water and keeping them warm. You can run them through the dishwasher or leave them in a pot of hot—not boiling—water until you're ready to fill them. Place new lids in a small bowl and cover with boiling water to soften the sealing compound.
Crush the strawberries in your large pot using a potato masher. You want a mix of small chunks and mashed fruit, not a completely smooth puree. Aim for about four cups of crushed berries.
Stir in the lemon juice and pectin powder. Mix thoroughly to ensure the pectin disperses evenly through the fruit.
Place the pot over high heat and bring the mixture to a full rolling boil, stirring constantly. A rolling boil is one that cannot be stirred down—it continues bubbling vigorously even as you stir.
Add all four cups of sugar at once. Stir to dissolve, then return the mixture to a full rolling boil. Boil hard for exactly one minute, stirring constantly to prevent scorching.
Remove from heat. Skim off any foam from the surface using a metal spoon—foam is harmless but affects appearance.
Ladle hot jam into prepared jars, leaving a quarter-inch of headspace at the top. Wipe jar rims clean with a damp cloth, place lids on top, and screw rings on until fingertip-tight.
You can either refrigerate the jars immediately for short-term storage or process them in a water bath canner for shelf-stable storage.
Testing for Set Without a Thermometer
Place two or three small plates in the freezer before you start cooking. When you think the jam is ready, remove the pot from heat and drop a spoonful of jam onto a frozen plate. Wait thirty seconds, then push the jam with your finger. If it wrinkles and holds a clear track rather than immediately flowing back together, it has reached the set point. If it's still liquid, return the pot to the heat and cook another two to three minutes before testing again.
As jam cooks, it will change from bright and thin to darker and thicker. The bubbles will shift from small and fast to larger and slower. When you drag a spoon through finished jam, it should leave a temporary path on the bottom of the pot. These visual cues become intuitive with practice.
Professional jam makers rely on temperature—the gel point for most jams is 220°F at sea level, or eight degrees above the boiling point of water at your elevation. If you have a candy or instant-read thermometer, this is the most reliable indicator. The plate test works perfectly well and requires no special equipment.
The No-Pectin Long-Cook Method
This approach works best for naturally high-pectin fruits: apples, plums, cranberries, currants, and underripe berries. The longer cooking time develops deeper color and complexity.
Use roughly equal parts fruit and sugar by weight, plus lemon juice. For four pounds of prepared fruit, start with three to four cups of sugar depending on the fruit's natural sweetness and your taste preference.
Combine fruit, sugar, and lemon juice in your pot. Let it sit for thirty minutes to an hour. This maceration step draws juice from the fruit and helps dissolve the sugar.
Bring the mixture to a boil over medium-high heat, stirring frequently. Once it reaches a boil, reduce heat to maintain a steady simmer. Stir regularly to prevent sticking and scorching, especially as the jam thickens.
Cook for thirty to forty-five minutes, testing for set starting around the thirty-minute mark. The jam is ready when it passes the plate test or reaches 220°F on a thermometer.
Ladle into jars and process using the same method as pectin-added jam.
Adjusting Sugar Levels
Many beginners worry about sugar levels. You can reduce sugar by about a quarter without dramatically affecting set, though the jam will be softer and must be refrigerated or frozen rather than stored at room temperature. Cutting sugar by half or more requires either commercial low-sugar pectin (like Pomona's, which uses calcium rather than sugar for gelling) or accepting a very soft, sauce-like consistency.
Honey and other alternative sweeteners work but change both flavor and texture. If you're experimenting, make a small test batch first.
Water Bath Canning for Shelf Storage
Water bath canning allows you to store jam at room temperature for up to a year. The process uses boiling water to create a vacuum seal and heat the contents enough to kill mold and yeast.
If you plan to use your jam within three to four weeks, refrigerator storage is simpler. For longer storage without taking up refrigerator space, water bath canning makes sense. Freezing is another excellent option—jam freezes beautifully for up to a year and requires no special processing.
Fill your water bath canner or a very large pot with enough water to cover jars by one to two inches. Bring it to a simmer while you make jam.
After filling jars with hot jam, wipe the rims carefully, apply lids, and tighten rings to fingertip-tight. Lower jars into simmering water using a jar lifter. Make sure they don't touch each other or the pot sides.
Bring the water to a full rolling boil and process half-pint or pint jars for five minutes at altitudes of zero to 1,000 feet, ten minutes at 1,001 to 6,000 feet, and fifteen minutes above 6,000 feet. Start timing only once the water returns to a boil.
When time is up, turn off the heat and let jars sit in the water for five minutes before removing them. This gradual temperature change reduces the risk of jar breakage.
Lift jars out and set them on a towel-lined counter, spaced apart so air circulates. You'll hear the lids pop as they seal—a metallic ping or snap as the vacuum pulls the lid down. Let jars cool undisturbed for twelve to twenty-four hours.
Check seals by pressing the center of each lid. It should be firm and slightly concave with no flex. If a jar didn't seal, refrigerate it and use within a few weeks. Remove the metal rings, wash any sticky residue from the jars, label with contents and date, and store in a cool, dark place.
Refrigerator and Freezer Storage
If you skip water bath processing, your jam will keep in the refrigerator for three to four weeks. Simply ladle hot jam into clean jars, let them cool to room temperature, apply lids, and refrigerate. This is the easiest approach for beginners and for small batches you'll use quickly.
Freezer jam skips cooking entirely or uses minimal heat. The texture is softer and the flavor extraordinarily fresh because fruit never reaches high temperatures. Follow a recipe specifically designed for freezer jam—standard cooked jam recipes don't translate directly. Use freezer-safe containers with tight lids and leave half an inch of headspace to allow for expansion. Frozen jam keeps for up to a year and thaws in the refrigerator overnight.
Adapting the Recipe to Other U-Pick Fruits
Once you've mastered strawberry jam, the same principles apply to almost any fruit you bring home from the U-pick farm.
Raspberries and Blackberries
Use the same pectin-added method as strawberries. These berries are slightly higher in natural pectin but still benefit from added pectin for a reliable set. Reduce sugar to three and a half cups if you prefer a less-sweet jam. Seeds are edible, but if you want seedless jam, cook the fruit briefly, then press it through a fine-mesh strainer or food mill before adding sugar and pectin.
Blueberries
Blueberries hold their shape and have moderate pectin, so a no-pectin method works well. Use four cups crushed blueberries, three cups sugar, and a quarter cup lemon juice. Simmer forty to fifty minutes, stirring regularly, until thickened.
Peaches
Peel if desired, though skins add pectin and nutrients. Use pectin-added method with five cups chopped peaches, five cups sugar, quarter cup lemon juice, and one box pectin. Peach jam sets softer than berry jam even with pectin—this is normal and delicious.
Plums
High in natural pectin, so use the no-pectin method with four cups pitted, chopped plums, three cups sugar, and two tablespoons lemon juice. Simmer thirty to forty minutes. The skins provide beautiful color and tartness.
Cherries
Sweet or tart cherries both make excellent jam. Pit them first. Use pectin-added method with four cups pitted cherries, four cups sugar, quarter cup lemon juice, and one box pectin. Cherry pitters save significant time if you're processing more than a pound or two. Sour cherries need less sugar—start with three cups and taste before adding more.
Apples
Best combined with other fruits or spices. Apples are very high in pectin, so they help other fruits gel. Try half apples, half berries, or make spiced apple jam with cinnamon and nutmeg. The no-pectin method works beautifully.
Troubleshooting Common Problems
Jam Too Thin
If your finished jam is too thin, you have several options. For refrigerator jam, simply use it as ice cream topping or pancake syrup—it's still delicious even if it didn't gel. For canned jars, you can remake the batch. Pour the jam back into a pot, add one to two tablespoons of commercial pectin mixed with a quarter cup sugar, bring to a boil, cook one minute, and re-can. Alternatively, add one tablespoon of lemon juice per cup of jam and cook it down further using the no-pectin method.
Prevention is easier than fixing. Make sure you reach a full rolling boil when using pectin, and cook pectin-added jams for exactly the recommended time—overcooking actually prevents pectin from setting properly. For no-pectin jams, test early and often.
Foam Formation
Foam forms as jam boils and is harmless but unsightly. Skim it off with a metal spoon before ladling jam into jars. You can also stir in half a teaspoon of butter at the start of cooking to reduce foam formation.
Mold
Mold indicates either improper sealing or contamination. If you find mold on refrigerated jam, discard the entire jar—mold roots extend deeper than what's visible on the surface. For canned jam, mold shouldn't occur if jars were processed correctly and sealed properly. If it does, discard the contents and review your canning process to identify where contamination occurred. Common causes include failing to sterilize jars, using damaged or old lids, or insufficient processing time.
The first batch you make will teach you more than any amount of reading. Start with a small amount of fruit, follow a tested recipe, and don't overthink it. The worst that happens is runny jam you eat on ice cream instead of toast. Once you see how forgiving the process actually is, you'll stop hesitating and start experimenting with different fruits, flavor combinations, and techniques. That's when jam making shifts from following instructions to something you just know how to do.